Salted Honey Cinnamon Cookies Recipe Easy Cozy Dessert to Bake

There’s something so comforting about walking into a kitchen filled with the warm smells of cinnamon, honey, and just a hint of sea salt—it’s like a cozy hug you can taste. I still remember the first time I made these salted honey cinnamon cookies. It was a chilly Saturday with a pot of tea steeping nearby, and as the cookies baked, their sweet, spicy aroma wrapped around me like a warm blanket. Since that day, I’ve baked this recipe more times than I can count (seriously, over 20!), and each batch brings back that same cozy feeling.
If you love cookies that are soft and chewy with the perfect salty-sweet finish that keeps you sneaking more, then this salted honey cinnamon cookie recipe is about to become your go-to. Honestly, once you bake these, they’re going to be your new favorite treat—you’ll reach for the recipe time and time again, I promise.
So, here it is—my salted honey cinnamon cookies recipe! I might have gotten carried away a bit, but when a cookie hits all those notes—soft, sweet, gently spiced, and just the right touch of salt—I get pretty excited. These cookies are my favorite for cozy weekend afternoons, last-minute guests, or whenever I want to celebrate a little kitchen win.
Feel free to make this recipe your own—swap in different spices, toss in some nuts or chocolate chips, or try alternative sweeteners. Baking’s all about making something that fits your taste, and this one is a fantastic base to customize however you like.
Happy baking! I hope your kitchen smells just as wonderful as mine does right now.
There’s a reason these cookies feel like a warm embrace: the mix of cozy cinnamon, bright floral honey, and a sprinkle of flaky sea salt all come together to create a simple, comforting bite. This recipe is perfect for throwing together on a chilly day or any time you want your kitchen to smell irresistibly good. The best part? Most of the prep takes just about 30 minutes before they go straight into the oven.
Up next, you’ll find a detailed list of ingredients with why each one matters, a clear, step-by-step guide to achieve soft cookies with a little chew and crisp edges, plus all the little secrets I’ve learned—like why flaky salt on top is a game-changer and how to stop your dough from spreading too much. I’ll also share fun twists like nuts, chocolate, and maple syrup, plus tips for storing your cookies, and answers to your most common questions so you can bake these confidently—no matter your skill level.
Stick with me, and you’ll have a cozy, reliable cookie recipe that’s quick, flexible, and totally impossible to stop eating—ideal for slow Sundays, surprise guests, or just because you deserve a treat.
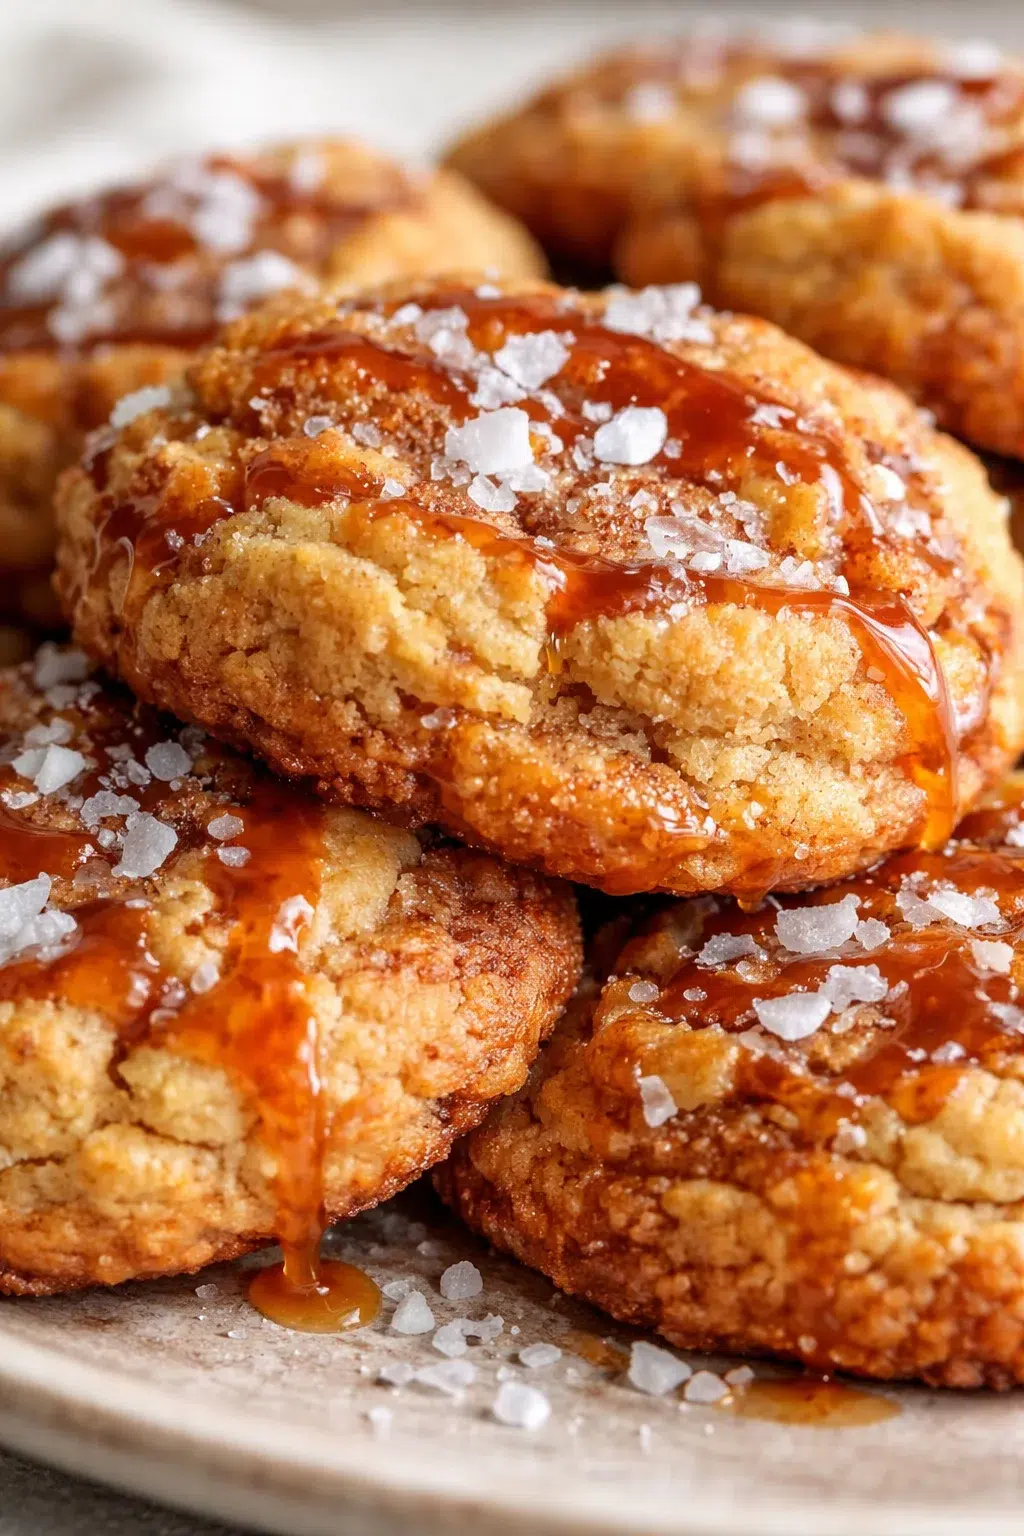
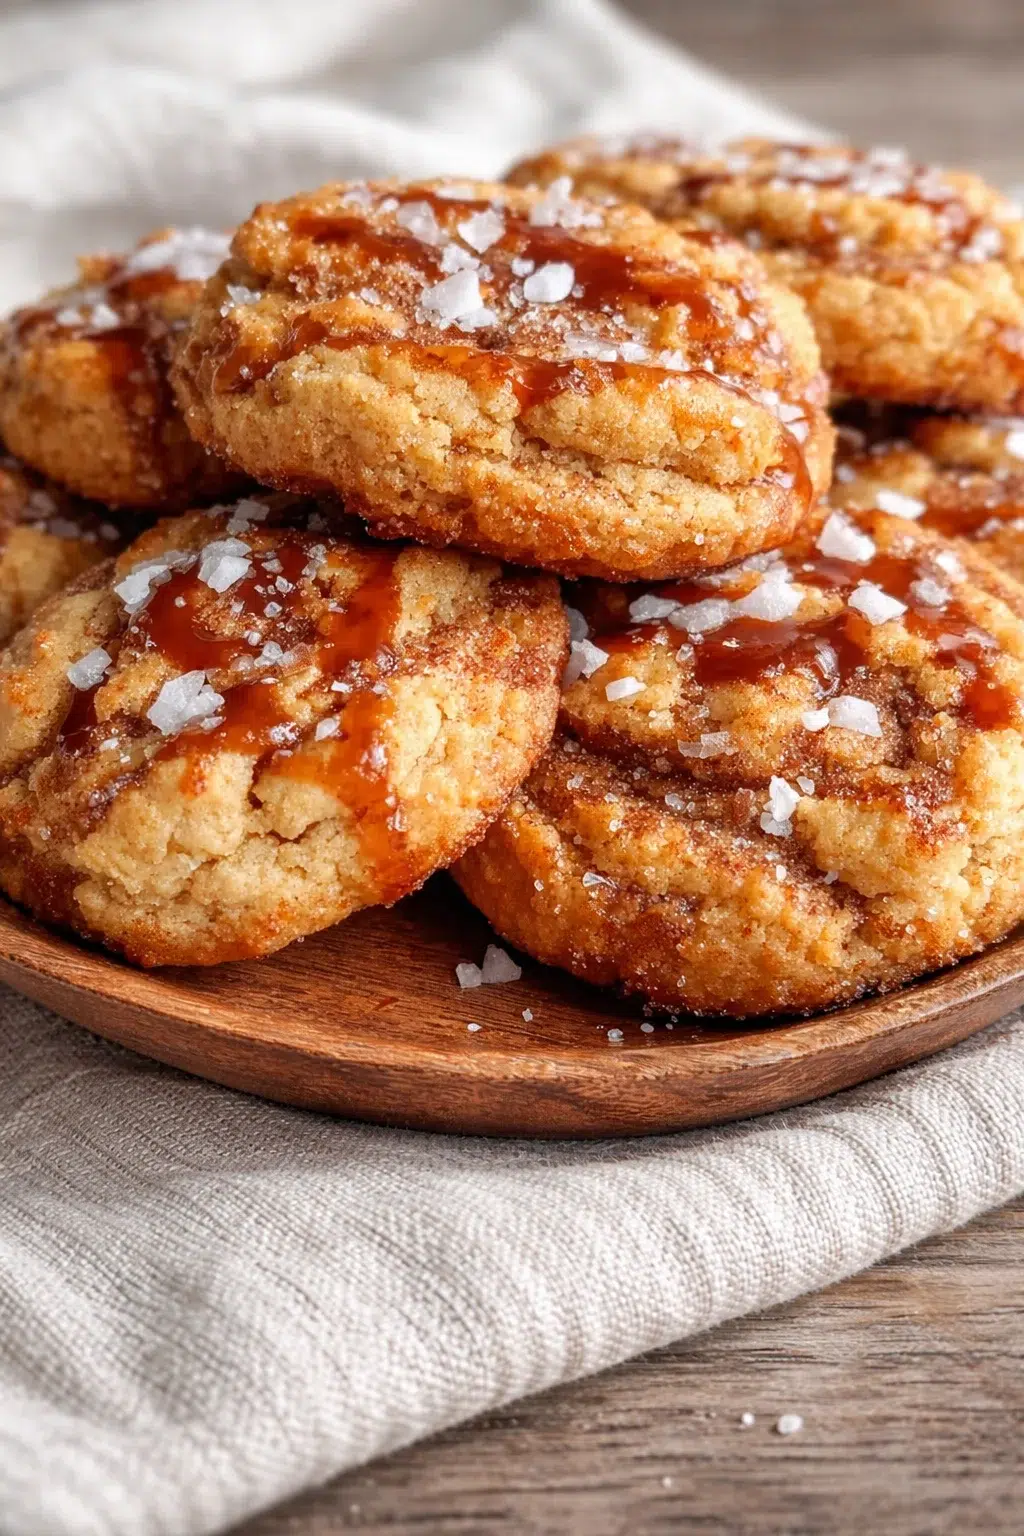
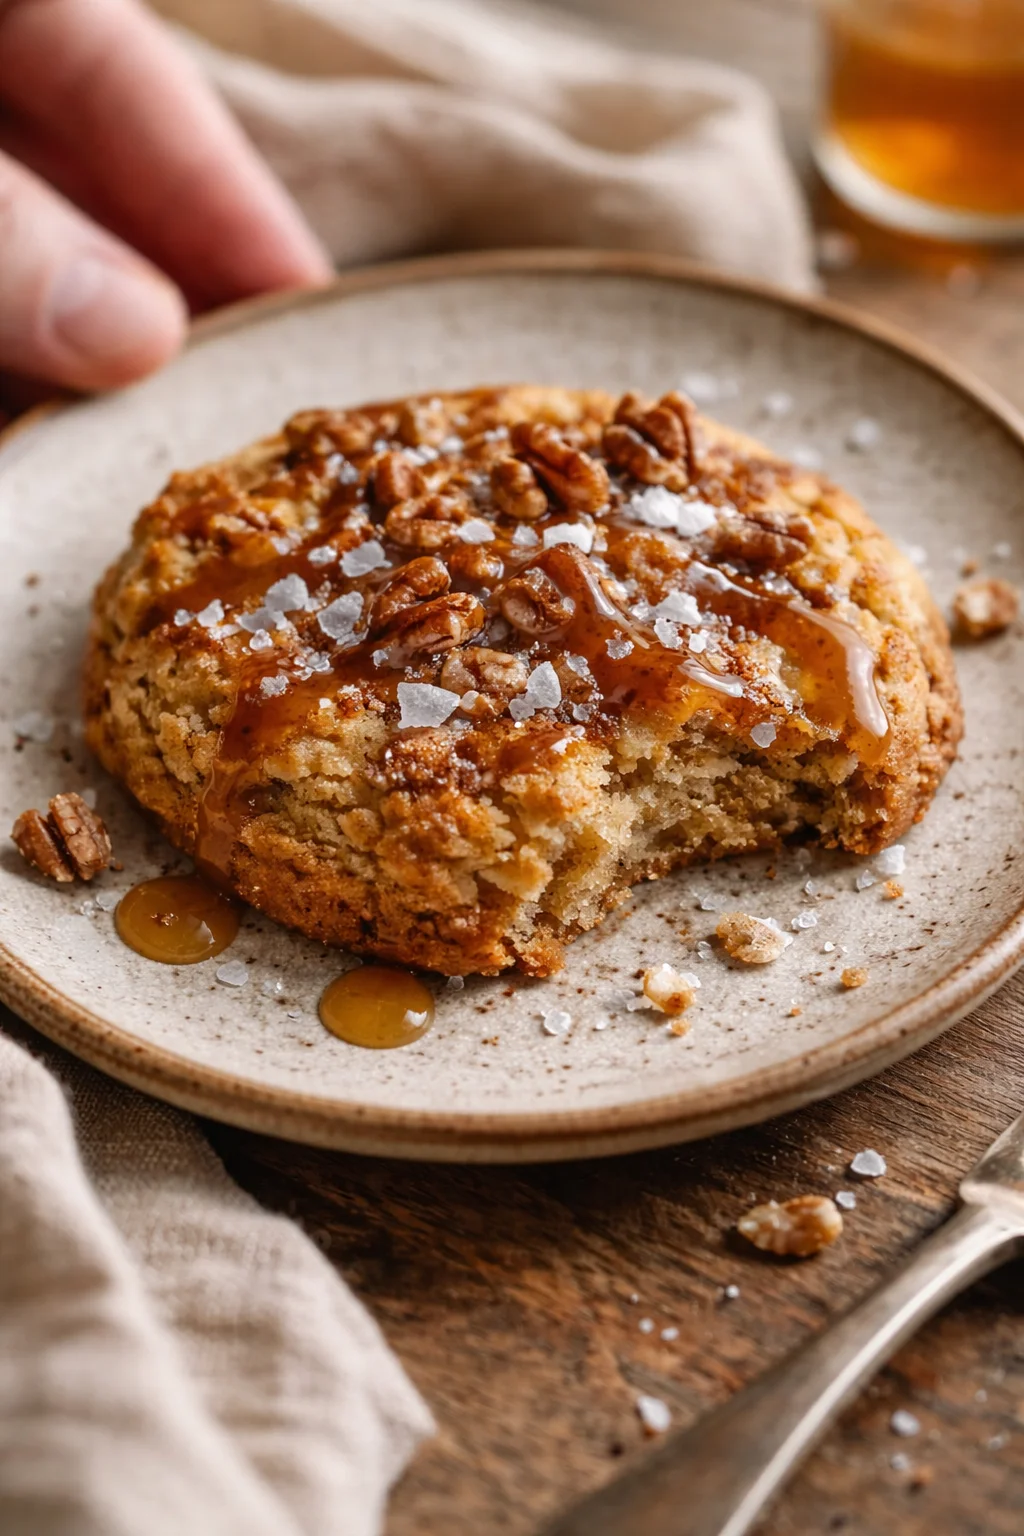
Picture a chilly afternoon, a warm pot of tea nearby, and your kitchen filling with the sweet-spicy scent of cinnamon and honey—this recipe is designed to bring that cozy vibe to life. These salted honey cinnamon cookies are simple and comforting: soft, a little chewy in the center, with crisp, golden edges and a bright pop of flaky sea salt on top.
Whether you bake occasionally or absolutely love spending time in the kitchen, this guide will walk you through everything for baking these cookies with confidence. The prep and mixing usually take about 30 minutes, and the cookies bake in roughly 10–12 minutes, making them easy to whip up on a weekend or last-minute when guests arrive.
- An easy-to-understand ingredient list with why each part matters (I’m looking at you, honey and flaky salt!).
- Step-by-step instructions so you get soft, chewy centers and golden, crisp edges every time.
- Helpful tips—like brushing with butter, chilling dough to prevent spreading, and oven-temperature tricks.
- Ideas for make-ahead and freezing, plus tasty variations like nuts, chocolate, and maple, plus storage advice.
- A quick FAQ to fix common cookie problems so you avoid all the usual mishaps.
Follow these tips and steps, and you’ll have a go-to cookie recipe that’s quick, forgiving, and totally addictive—perfect for quiet Sundays, little celebrations, or anytime you want that fresh, homemade cookie feeling.
Why You’ll Love These Cookies
Honestly, I’ve tested a ton of cookie recipes, but these salted honey cinnamon cookies have totally spoiled me for anything else. Here’s why they’ve become a staple in my kitchen:
- Quick and easy: From start to finish, these cookies take about 30 minutes. They’re my quick fix after a busy day when I need a sweet break, fast—similar to Easy Strawberry Oatmeal Crumble Bars when I’m craving something fruity.
- Soft and chewy with a crunchy edge: The edges bake up golden and crisp, while the centers stay tender thanks to honey and just the right bake time.
- That perfect salty-sweet hit: A sprinkle of flaky sea salt on top adds a grown-up flavor twist that keeps these cookies totally addictive.
- Warm cinnamon spice: Cinnamon adds just the right gentle heat without overpowering the honey’s natural sweetness—it’s like autumn wrapped up in cookie form, any time of year. If you love cinnamon-forward bakes, you’ll also enjoy Sourdough Cinnamon Roll Focaccia.
- Super versatile: I’ve made these for my cinnamon-loving sister and my picky little nephew, and they both keep asking for seconds and thirds.
These cookies are exactly the cozy dessert to make you feel proud in the kitchen—even if baking isn’t usually your thing. They’re simple, comforting, and perfect for when you want something special with zero fuss or stress.
Ingredients and Exact Measurements
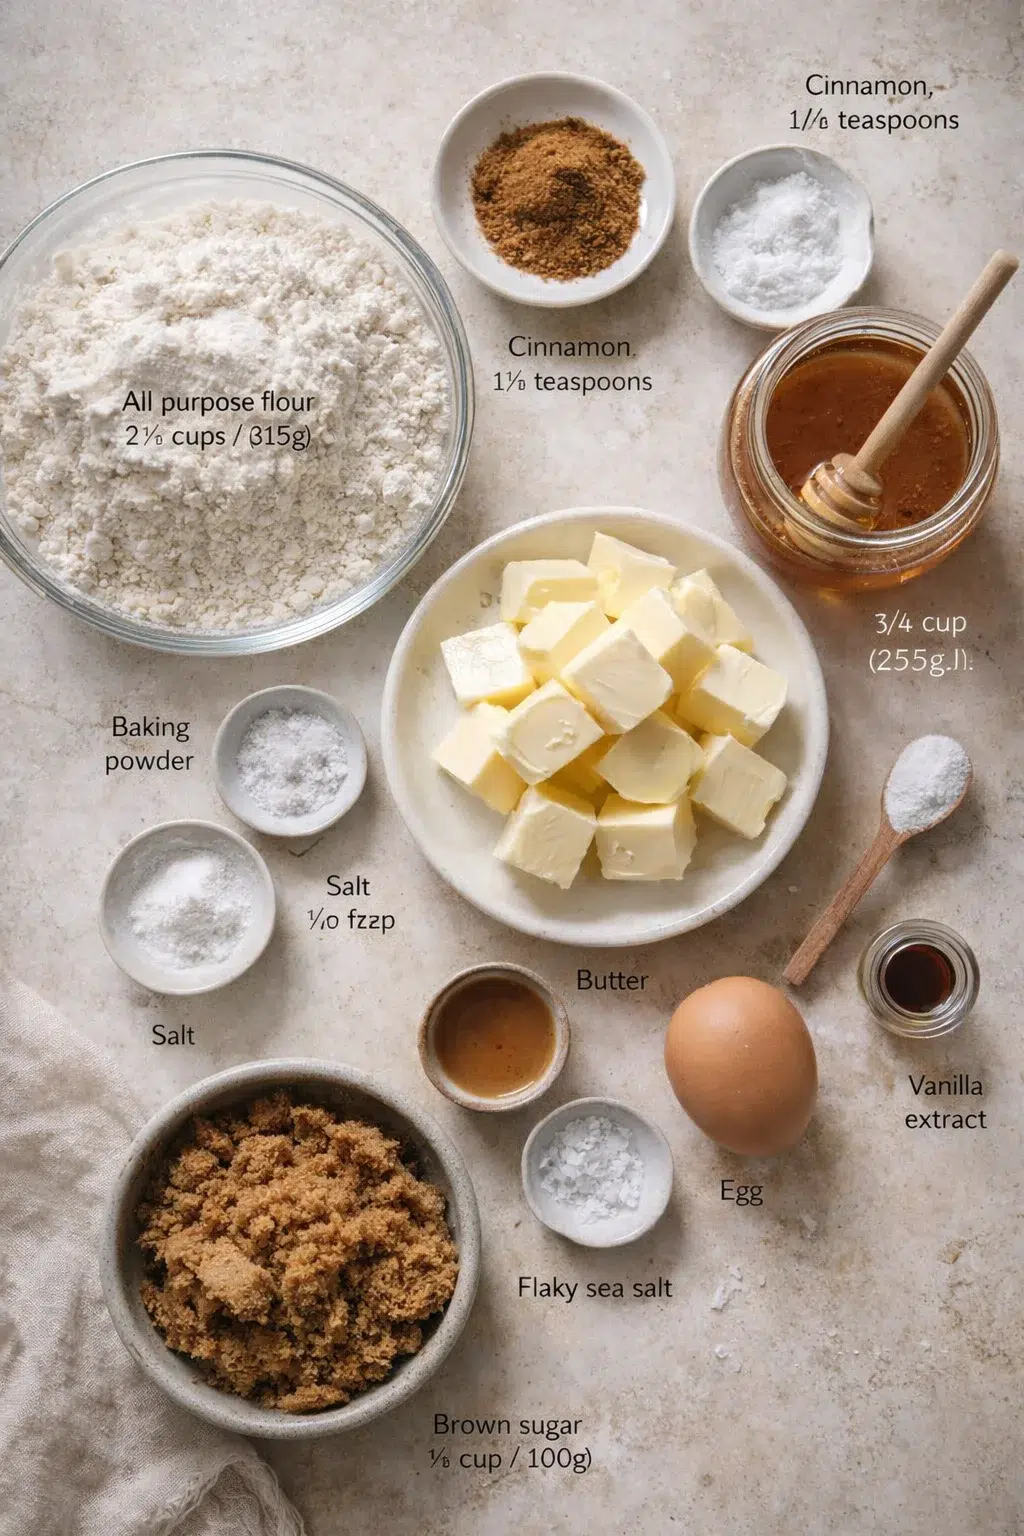
- All-purpose flour (2 ½ cups / 315g)
- Baking powder (1 teaspoon)
- Cinnamon (1 ½ teaspoons)
- Salt (½ teaspoon plus flaky sea salt for topping)
- Unsalted butter (1 cup / 227g, softened)
- Honey (¾ cup / 255g)
- Brown sugar (½ cup / 100g, packed)
- Egg (1 large, room temperature)
- Vanilla extract (1 teaspoon)
How to Make the Cookies
- Bring unsalted butter to room temperature (about 1 hour) and let the egg come to room temperature (about 30 minutes).
- Preheat oven to 350°F (175°C) and line a baking sheet with parchment paper or lightly grease it.
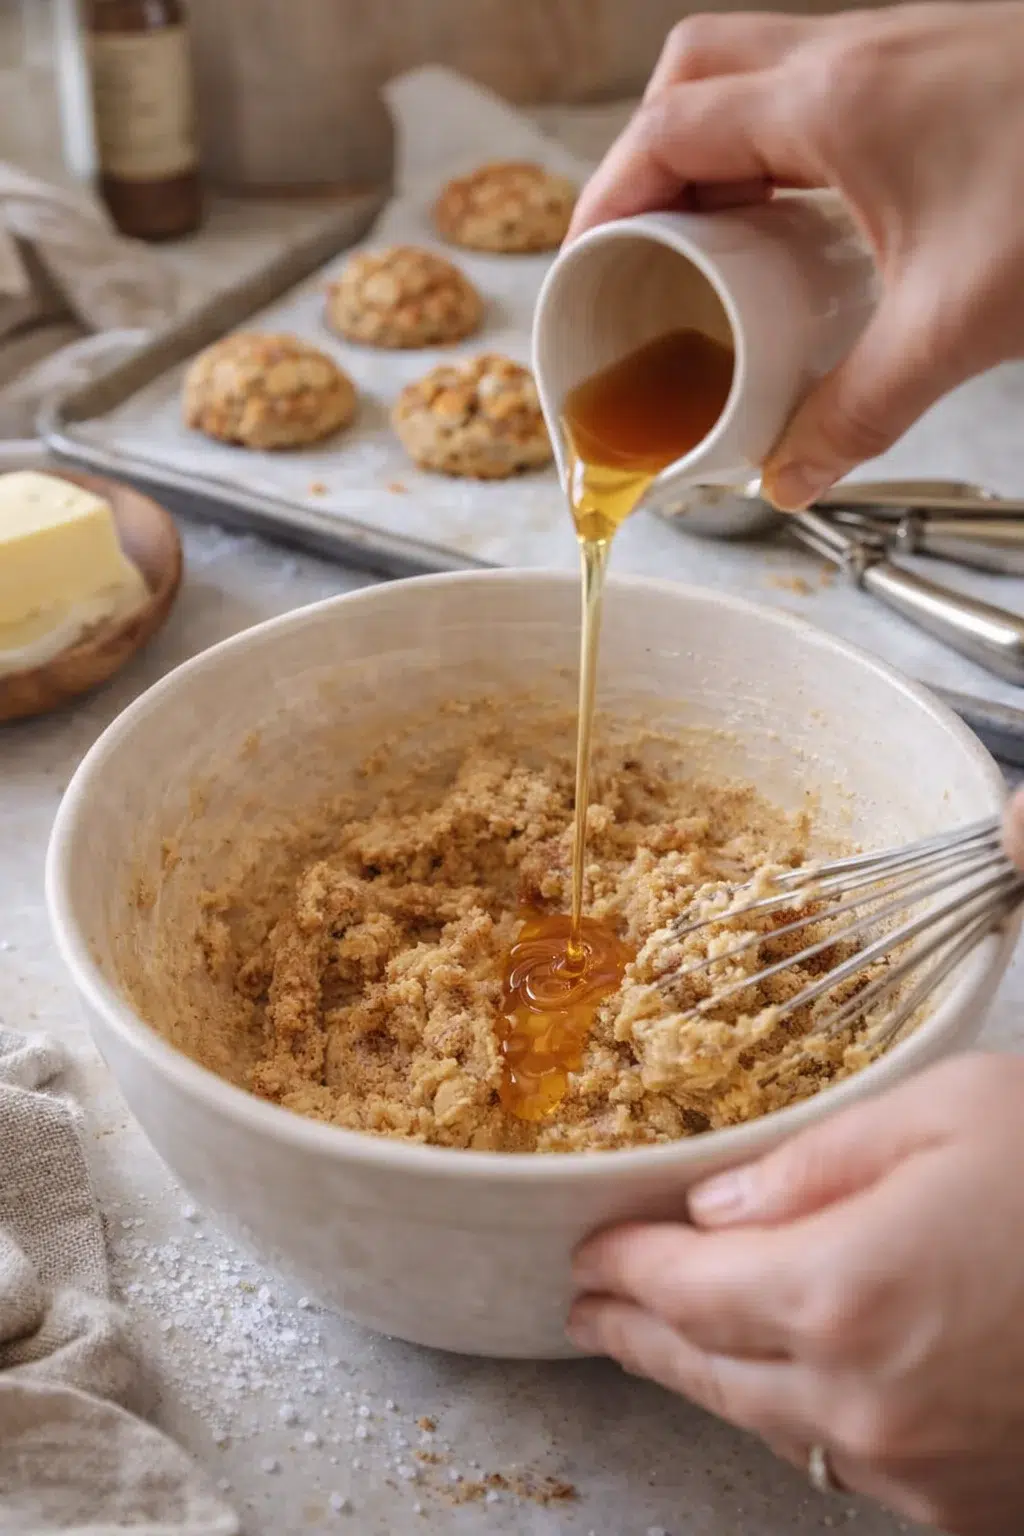
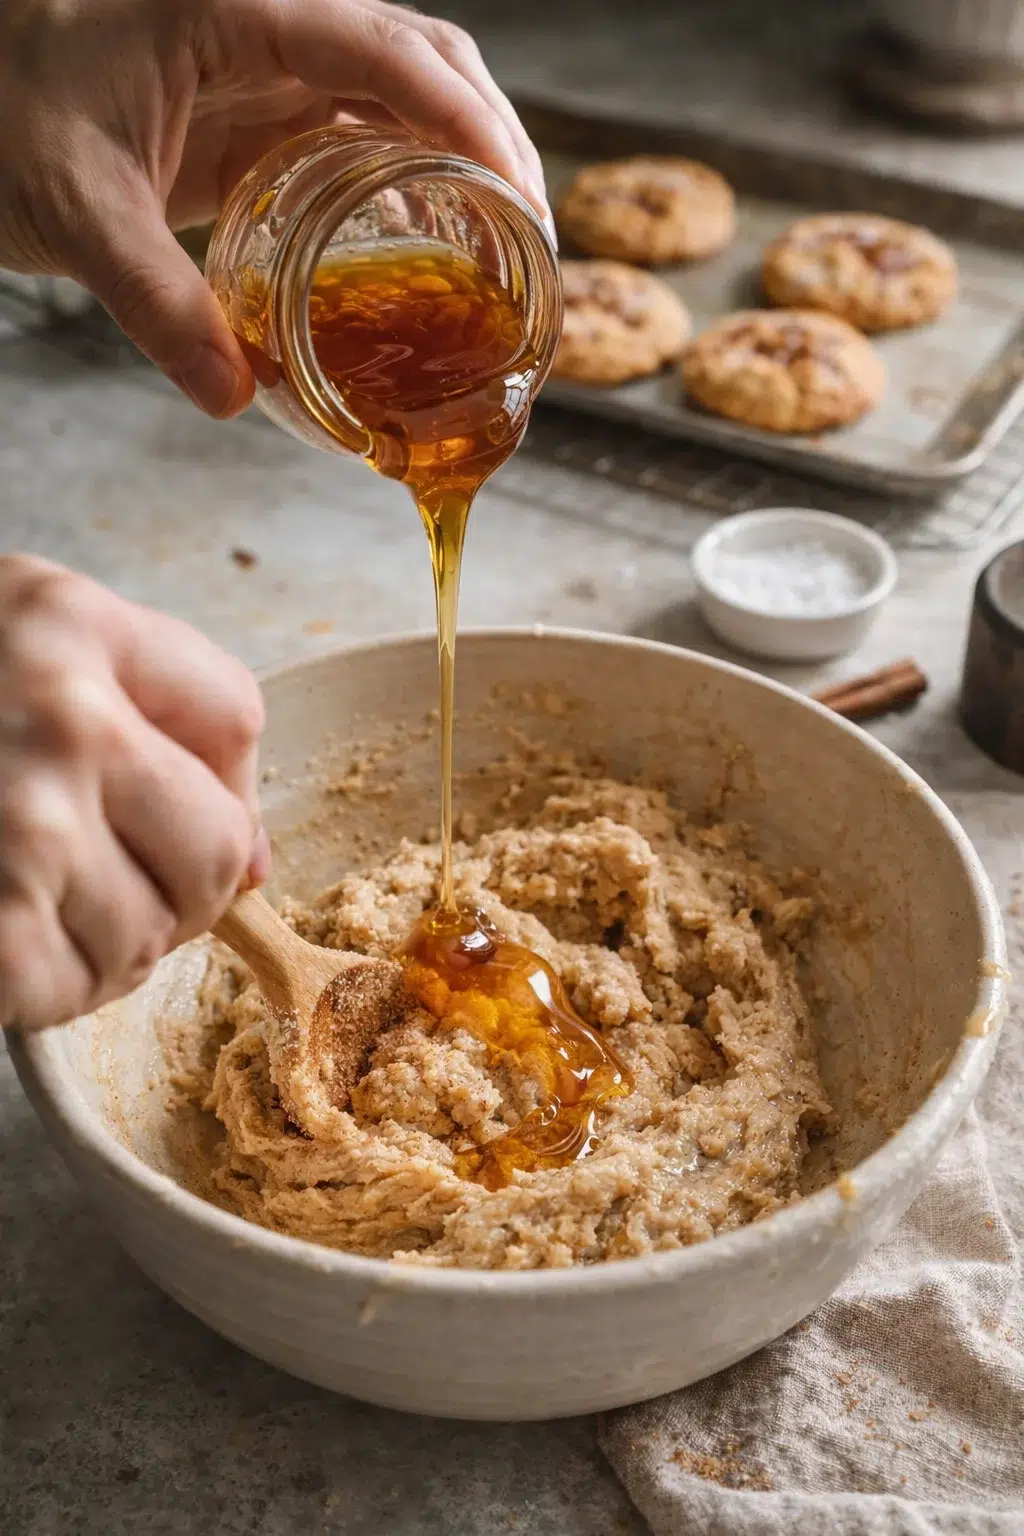
- Warm thick honey gently until it flows easily.
-
Whisk together all-purpose flour, baking powder, cinnamon, and salt in a medium bowl until evenly mixed.

- Beat softened butter, honey, and brown sugar in a large bowl until smooth and creamy.
- Add the room-temperature egg and vanilla extract to the butter mixture and mix until fully combined and airy.
- Add the dry ingredients to the wet mixture in two batches, mixing on low just until the flour disappears (do not overmix).
-
Using a tablespoon or cookie scoop, drop dough balls about 2 inches apart onto the prepared baking sheet and press each ball down gently.
- Sprinkle a pinch of flaky sea salt on each dough ball.
- If the dough is too warm or tends to spread, chill the dough or the scooped balls in the refrigerator for 30 minutes before baking.
- For freezing make-ahead: place scooped dough balls on a baking sheet and freeze until solid, then transfer to a freezer bag; when baking from frozen, add a couple minutes to the bake time.
-
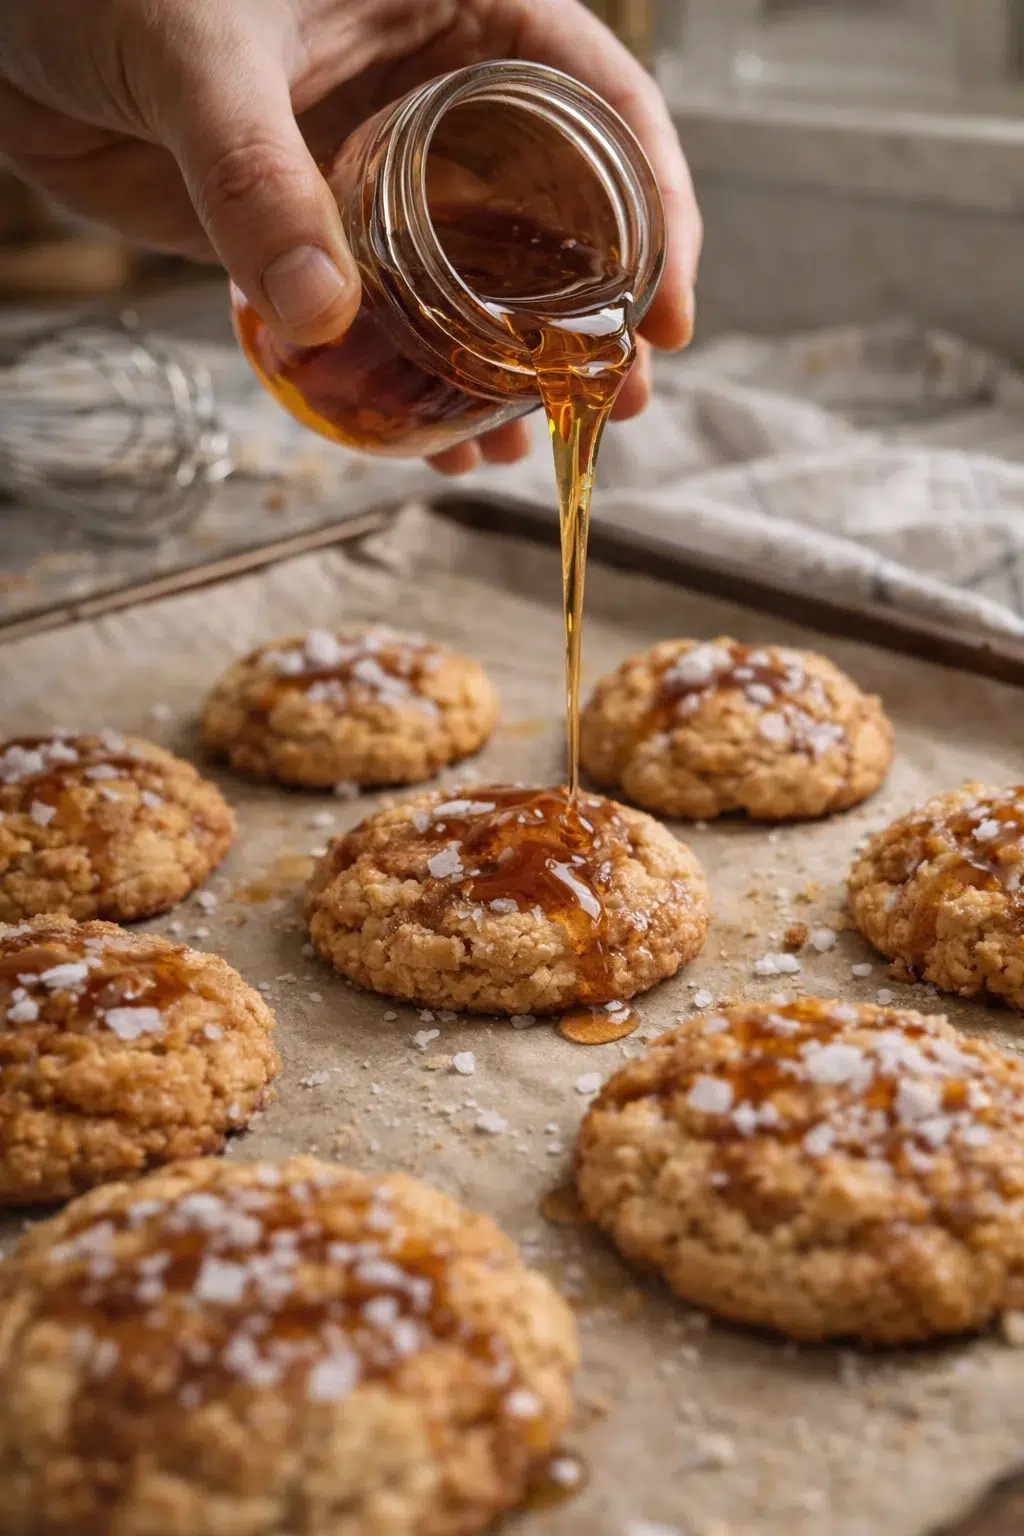
Bake cookies for 10–12 minutes, until edges are golden and centers are soft but set.
- Optionally brush warm cookies with melted butter immediately after they come out of the oven for a soft, shiny top.
-
Let cookies cool on the baking sheet for about 5 minutes, then transfer to a wire rack to cool completely.
Baker’s Tips and Serving Ideas
After baking these cookies dozens of times, here’s everything I’ve learned to get them just right every time…
- Don’t skip the flaky sea salt: Those tiny crystals add an incredible crunch and flavor boost that turns good cookies into unforgettable ones.
- Use room temperature butter and egg: Leaving your butter out for about an hour and bringing the egg out 30 minutes ahead helps everything blend smoothly for a nice dough texture.
- Mix just enough: Once you add the flour, stop mixing as soon as it disappears. Overmixing will make cookies tough, and that’s nobody’s goal!
- Cookie scoop love: A cookie scoop is a baker’s best friend—it makes your cookies even-sized and less messy. Plus, they bake more evenly.
- Know your oven’s quirks: Ovens can be tricky. If your cookies brown too fast, try lowering the temperature by 10 degrees. Investing in an oven thermometer is a game changer.
- The butter brushing trick: Brushing melted butter on the cookies right after baking gives them a beautiful soft shine and adds richness. I picked this tip up from a local bakery and it’s a total keeper.
- Storage is key: Store cookies in an airtight container with a slice of bread inside—it sounds weird, but the bread keeps cookies soft and chewy longer.
These cookies are delicious on their own but really shine with cozy drinks. Pair them with a warm cup of chai tea or hot chocolate for the ultimate treat. You can spread softened butter or cream cheese on a warm cookie for a rich twist, or enjoy them with a spoonful of stovetop rhubarb compote and whipped cream for brunch. Also, they make wonderful ice cream sandwiches—just sandwich your favorite ice cream between two cookies and enjoy! For an easy brunch board, set them out alongside a slice of Cinnamon Rhubarb Bread.
Creative Twists and Substitutions
Once you nail the classic version, why not get creative? Here are some fun twists I’ve tested myself that add extra flavor and texture:
- Maple Brown Sugar Swap: Replace the honey with pure maple syrup and increase brown sugar to ¾ cup (150g). This swap gives a deep, woodsy sweetness that pairs beautifully with the cinnamon—similar to the brown sugar chew in these Brown Sugar Rhubarb Cookies.
- Nutty Delight: Stir in ½ cup of chopped toasted pecans or walnuts just before baking. The crunch and nutty flavor work so well with honey’s sweetness.
- Chocolate Chip Cinnamon: Add ½ cup semi-sweet chocolate chips to the dough for little melted chocolate pockets. They make the salty-sweet combo even more addictive.
- Gluten-Free Version: Swap the all-purpose flour for a 1:1 gluten-free blend like Bob’s Red Mill. The cookies will be a bit softer but every bit as tasty.
- Spiced Up: Increase cinnamon to 2 teaspoons and add ¼ teaspoon nutmeg plus a pinch of cloves for a cozy, holiday-inspired cookie.
- Vegan Twist: Use coconut oil in place of butter and swap the egg for a “flax egg” (1 tbsp ground flaxseed mixed with 3 tbsp water). I haven’t tried this one myself yet, but friends assure me it’s fantastic.
Once you’ve mastered the basic salted honey cinnamon cookies, don’t be afraid to mix it up! Try swapping honey for maple syrup and adding a bit more brown sugar for richness. Toss in chopped toasted nuts like pecans or walnuts for crunch, or stir in chocolate chips for melty sweetness. Want to make it gluten-free? Use a 1:1 gluten-free flour blend for a softer but still tasty cookie. Spice lovers can add more cinnamon plus nutmeg and cloves for a holiday feel. For a vegan version, try coconut oil and a flax egg substitute.
Storing, Serving, and Make-Ahead Tips
These cookies are amazing warm from the oven but I get it—sometimes you want to save some for later. Here’s how I keep them tasting fresh and delicious:
Serving: I love them with a warm chai latte or rich hot chocolate. Slather a soft cookie with a bit of butter or cream cheese for an indulgent snack. They also make fantastic ice cream sandwiches or pair really well with fresh fruit—try a bright Mango Cucumber Salad with Blueberries and Avocado—and whipped cream for brunch.
Storage:
- Room temperature: Store in an airtight container for up to 3 days. They actually get softer and more chewy as they sit, so patience pays off.
- Refrigerator: Keep them in an airtight container for about a week. Warm in the microwave for 10-15 seconds to bring back that fresh-baked feel.
- Freezer: Freeze baked cookies in a single layer first, then transfer to a zip-top bag. They keep great for up to 3 months and thaw quickly at room temp or in a warm oven.
Pro tip: If your cookies dry out, slice and turn them into French toast—they soak up the custard beautifully and taste amazing!
To keep your salted honey cinnamon cookies at their best, store them in airtight containers at room temperature. Adding a slice of fresh bread inside the container helps keep the cookies moist and soft. If you notice they’re getting a bit dry, just pop them in the microwave for 10 seconds to bring back that fresh-baked softness.
For longer storage, you can refrigerate them for up to a week. When ready to eat, warm them slightly to restore their softness. If freezing, freeze the baked cookies in a single layer, then move them to a freezer-safe bag or container. They’ll stay delicious for about three months and thaw quickly at room temperature or in a warm oven.
This recipe is great for making ahead! You can scoop the dough onto a baking sheet and freeze the balls until solid. Store them in a freezer bag and bake straight from frozen, just add a couple extra minutes onto the baking time. Having dough ready in the freezer means you can bake fresh cookies anytime, even when life gets hectic.
If you want to bake all at once and save the cookies, just keep them in airtight containers or freeze after baking to enjoy later. It’s the ultimate busy mom hack for a quick homemade treat whenever you need.
Answers to Common Cookie Questions
A: Absolutely! Maple syrup works wonderfully and gives a slightly richer sweetness. Just dial back the brown sugar a little so it’s not overly sweet. The texture stays soft and chewy—exactly what you want.
A: That usually means the dough was too warm or the butter too soft. Next time, chill your dough for 30 minutes before baking. Also, double-check your oven temperature because baking at too low a heat can cause spreading.
A: Yes, you can! I recommend using a 1:1 gluten-free baking flour blend like Bob’s Red Mill. They’ll be a touch softer but still super tasty.
A: Keep them in an airtight container at room temperature with a slice of fresh bread inside. The bread helps them stay moist. If they start to feel dry, warm the cookies in the microwave for 10 seconds and they’ll feel almost freshly baked.
A: Yes! Scoop the dough onto a baking sheet and freeze until solid. Then transfer the dough balls to a freezer bag. When you’re ready to bake, just pop the frozen dough balls onto your baking sheet and add a couple of extra minutes to the bake time.