White Chocolate Lucky Charms Treats

Take a fun twist on the classic rice krispie treats by making these cheerful Lucky Charms cereal bars instead. You only need 4 simple ingredients for this quick, no-bake snack that’s perfect for celebrating St. Patrick’s Day. A dip in silky white chocolate adds an extra touch of magic to these sweet, chewy bars!
This recipe originally appeared in 2013, and since then, I’ve updated it with fresh photos and helpful tips to make your treats shine.
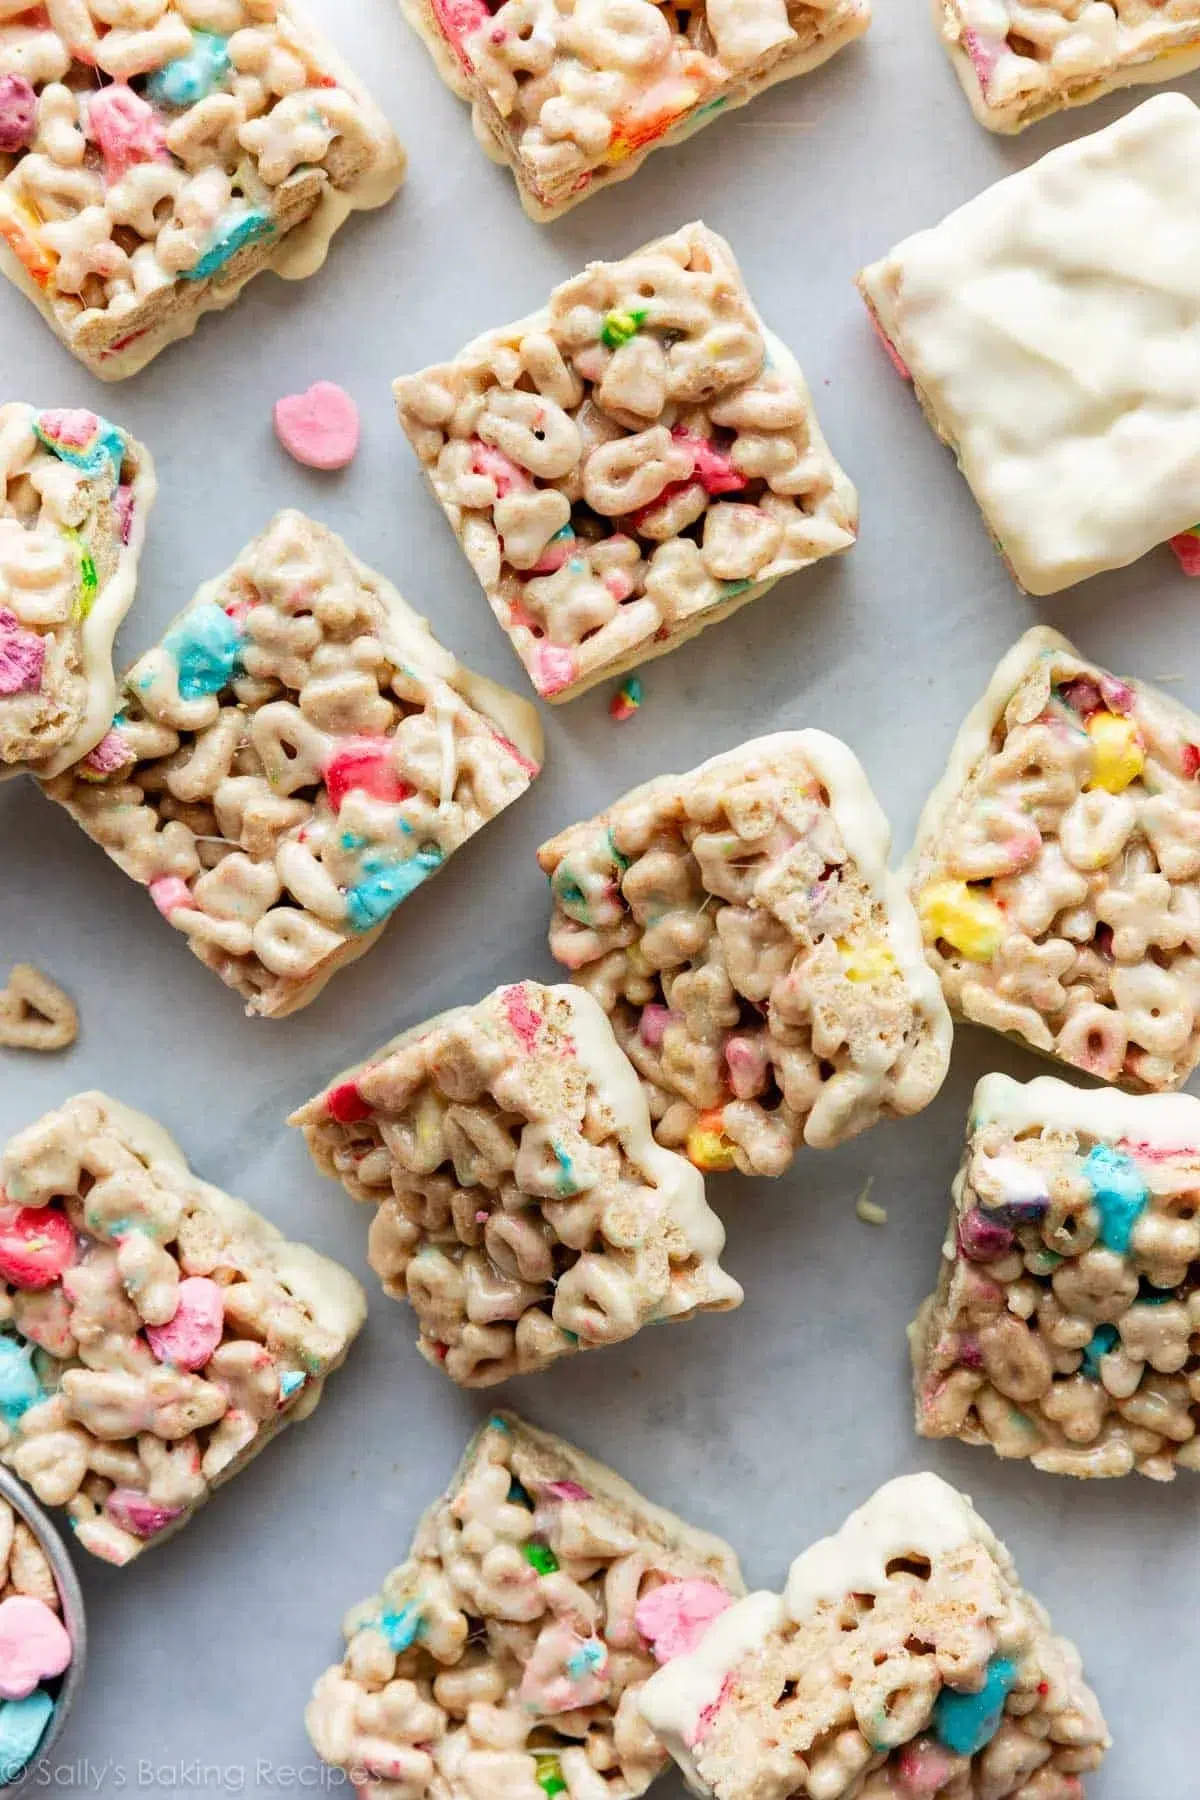
Think of these bars as rice krispie treats’ colorful, luckier cousins. I went all in with the marshmallows here, using the highest amount possible—after all, isn’t that the best part? Extra marshmallow gooeyness wrapping the iconic Lucky Charms marshmallows themselves. Double the fluff, double the fun!
Question: Which Lucky Charms marshmallow shape is your top pick? Hearts, stars, horseshoes, clovers, blue moons, unicorns, rainbows, or those bright red balloons?
A reader named Laurel said: “These bars are absolutely AMAZING! I don’t usually care for Lucky Charms cereal, but I wanted an easy activity with my little ones (ages 2 and 3). Now I can’t stop snacking on them! We only dipped half in the white chocolate, and I liked them more plain, but either way, they’re delicious. ★★★★★“
If you’re craving a break from traditional rice krispie treats and in the mood for something fun and bright, these Lucky Charms cereal bars are just the ticket. They’re colorful, nostalgic, and super simple to make. Plus, they’re great for kid-friendly baking days, St. Patrick’s Day festivities, or anytime you want a sweet but easy treat with a pop of color.
This recipe calls for just 4 ingredients and no baking at all. The key is to use a generous dose of marshmallows to get that perfect gooey, soft texture. After mixing and molding the bars, they set up nicely after about 2 hours at room temp. I love dipping the bottoms in melted white chocolate for an extra festive finish, but that step is totally optional. If you choose gluten-free Lucky Charms, this snack fits the bill for gluten-sensitive diets too.
Keep reading because I’m sharing:
- A full ingredients list plus straightforward, step-by-step instructions
- Helpful photos and tips for melting marshmallows and white chocolate just right
- The best way to press the bars to keep them soft, not tough, and how long to let them set
- Smart storage advice, make-ahead ideas, fun flavor swaps, and answers to common questions
Follow along, and you’ll be enjoying soft, colorful, chewy cereal bars that taste as great as they look.
Why You’ll Love These Bars
- Just 4 simple ingredients, no fuss
- A quick, easy no-bake recipe you can whip up in under 30 minutes
- Gluten-free when made with certified Lucky Charms cereal
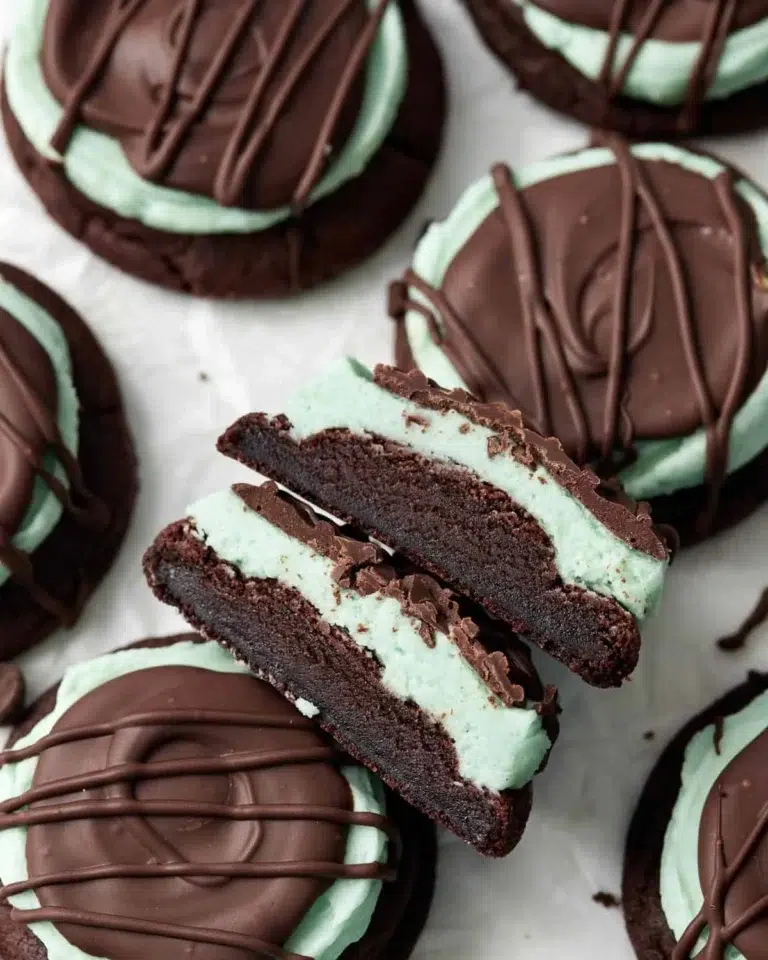
- A perfect celebratory treat for St. Patrick’s Day or any fun occasion—pair it with Mint Chocolate Chip Cookies for an extra-festive spread
- A nostalgic flavor blast from your breakfast memories
While I can’t guarantee these will bring you luck, making and enjoying them sure feels like a little bit of magic in the kitchen.

Ingredient List

- 6 cups (210g) Lucky Charms cereal
- 1/4 cup (4 Tbsp; 56g) unsalted butter
- 10-ounce (283g) bag of marshmallows (mini size or regular)
- pinch of salt (optional)
- two 4-ounce bars (226g total) quality white chocolate, coarsely chopped (or use almond bark)
How to Make the Bars
- Line a 9-inch square baking pan with parchment paper, leaving an overhang for lifting; lightly grease the parchment with nonstick spray and set pan aside.
- Melt the butter over medium heat in a large pot.
- Add the marshmallows and a pinch of salt (optional) to the melted butter and stir constantly until the marshmallows are completely melted and smooth; remove from heat.
-
Gently fold in the Lucky Charms cereal slowly, coating each piece with the marshmallow mixture without breaking the cereal.

- Pour the sticky mixture into the prepared pan.
- Lightly grease the back of a flat spatula with nonstick spray and gently press the mixture evenly into the pan—do not pack tightly.
- Let the treats set at room temperature for at least 2 hours.
-
Use the parchment overhang to lift the slab from the pan and cut into squares; line a baking sheet with parchment or a silicone mat and set aside for dipping.
- Chop the white chocolate bars and melt them in a microwave in 20-second bursts, stirring between each, until smooth, or melt in a double boiler on the stove.
-
Dip the bottom of each cereal bar into the melted white chocolate, place chocolate-side up on the prepared baking sheet, and let the chocolate set at room temperature for about 1 hour (or chill in the fridge for ~20 minutes to speed up).


Melting and Dipping Tips
The best white chocolate for melting isn’t the typical chips or candy melts. Instead, grab baking bars from the baking aisle—brands like Baker’s or Ghirardelli are excellent. You’ll need about 8 ounces total, so that usually means two 4-ounce bars. Another easy choice is almond bark, which melts smoothly even though it’s not technically chocolate.
Steer clear of white chocolate morsels or candy melts here—they don’t melt as nicely and can give you a gritty texture instead of that smooth, glossy finish.
Melting white chocolate is easier than you think. Chop the bars into small pieces and place them in a microwave-safe bowl (I like using a glass measuring cup). Heat in short 20-second bursts, stirring well between each, until it’s silky smooth. Or, if you prefer, use a double boiler on the stove to gently melt it.
Once melted, dip the bottom of each cereal bar into the chocolate and set them upside down on a baking sheet lined with parchment or a silicone mat. This keeps the chocolate from ruining the top side. Let the chocolate set at room temperature for about an hour, or pop them in the fridge for 20 minutes if you want to speed things up.


These treats come together so quickly, with no oven required. They’re perfect for last-minute parties, school events, or just when you need a colorful, kid-approved snack. And honestly, don’t they look just magical? Plus, they taste even better than they look—totally worth the fun! If you’re planning a dessert table and want an elegant bite to pair with these bars, try mini lemon cakes with lavender glaze.
Easy Swaps and Add-Ins

Want to switch things up? Here are easy ways to tweak the flavor or texture without changing how you make the treats:
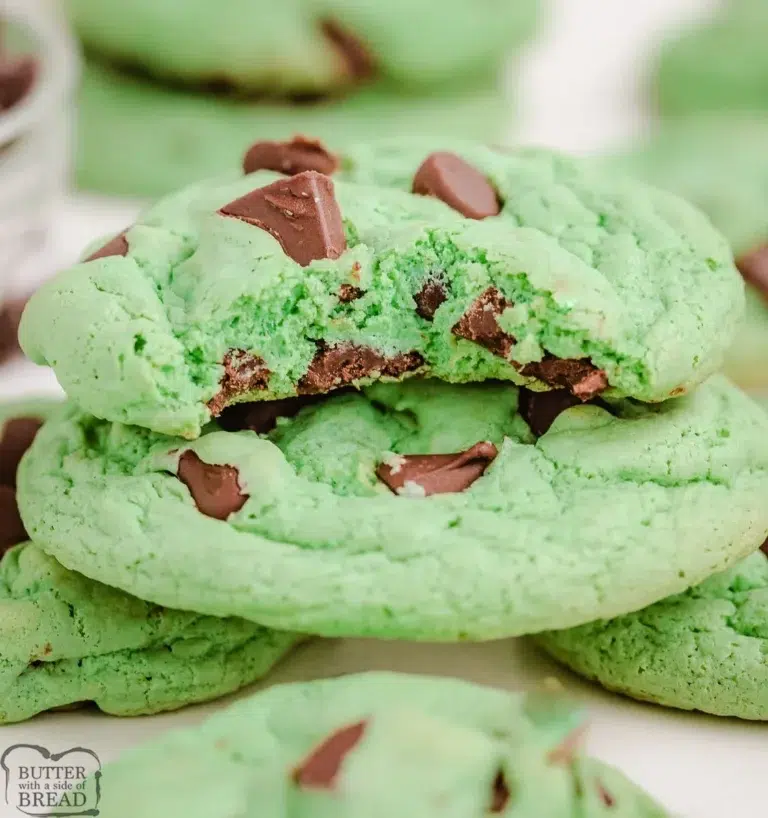
- Chocolate swaps: Try dipping in melted dark or milk chocolate instead of white. Almond bark is another smooth-melting alternative if you want a candy coating texture. Craving a minty finish? Stir a drop of peppermint extract into the melted chocolate and take flavor cues from these Chocolate Mint Cookies. Just avoid chocolate chips or candy melts for dipping—they don’t melt smoothly enough.
- Try different cereals: Swap the Lucky Charms for Rice Krispies for a classic treat, Fruity Pebbles if you want a rainbow punch, or Cocoa Krispies for a chocolatey twist. Keep in mind crunchier cereals make firmer bars.
- Mix-ins: Add up to 1 cup of white chocolate chips before pressing the mixture into the pan. Or stir in mini M&Ms, chopped pretzels, or rainbow sprinkles for extra color and crunch.
- Vegan version: Use vegan butter and vegan marshmallows with a gluten-free, vegan-friendly cereal for a completely plant-based snack.
- Chocolate dip alternatives: Skip the dipping and drizzle colored candy melts or tinted white chocolate over the bars instead for a festive look.
How to Store and Prep Ahead
Once your bars have cooled and set completely, store them in an airtight container at room temperature for up to 3 days. Place parchment or wax paper between the layers to keep them from sticking together.
If you want to prep ahead, you can make the whole slab and leave it uncut in the parchment-lined pan, covered tightly, for up to 24 hours before slicing and dipping. For another make-ahead dessert that holds beautifully, try our Strawberry Lemon Cake.
Refrigerating for longer storage isn’t the best idea since it can make the marshmallow part hard and less enjoyable. However, chilling dipped bars for 15 to 30 minutes is a great way to speed up the chocolate setting. When ready to serve, let refrigerated bars come back to room temp for the best melt-in-your-mouth texture.
You can also freeze these bars—wrap individual pieces tightly in plastic wrap or parchment, place in a freezer-safe container, and freeze up to 2 months. For eating, thaw at room temperature for about 30–60 minutes.
If your bars get a little firm, warming them in the microwave for 3 to 8 seconds (depending on your microwave) softens them right up—just don’t overheat!

Common Questions and Fixes
Can I use mini or regular marshmallows? Absolutely! Both sizes melt well. Mini marshmallows melt a bit faster, but either way, your bars will turn out delicious and gooey.
Can I use a different cereal? Sure! Rice Krispies, Fruity Pebbles, or any puffed cereal works. Just remember, crunchier cereals will make firmer bars, so if you want softer bars, cut back slightly on the cereal amount.
Why did my treats turn hard or rock-like? This usually happens when marshmallows overheat, the mixture gets packed too tightly into the pan, or the bars were refrigerated too long. To avoid this, melt marshmallows gently over low heat, press the bars lightly, and keep them at room temperature.
How do I melt white chocolate without it seizing? Chop baking-quality white chocolate bars into small pieces and microwave in short, 20-second bursts, stirring frequently. Keep any moisture away from the chocolate. Almond bark is a reliable option that melts smoothly and is less likely to seize.
Is this recipe gluten-free? Yes! As long as you use Lucky Charms cereal labeled gluten-free, this treat fits gluten-sensitive diets. Always read ingredient labels carefully if you have allergies or sensitivities.
Do I have to dip the bars in white chocolate? No, dipping is optional. You can skip it, mix white chocolate chips into the marshmallow mixture, or drizzle melted chocolate instead.