Perfect Hard-Boiled Eggs (Foolproof Family Method)
Introduction
There’s something quietly comforting about a pot of eggs gently heating on the stove. No rushing. No complicated steps. Just simple ingredients and a little patience.
I used to think boiling eggs was foolproof — until I tried to make them perfect. Some batches had chalky yolks. Others had that stubborn green ring. And the peeling? Oh, the peeling. I still remember standing at the sink while Ethan waited for his after-school snack, only to remove half the egg white with the shell. Lily looked at it very seriously and said, “Mom, that one looks bumpy.” She wasn’t wrong.
Daniel, of course, said, “Still tastes great,” which is sweet — but I wanted beautiful, smooth, perfectly set eggs.
Over the years, I’ve tested different techniques, adjusted timing, experimented with starting temperatures, and paid attention to the smallest details. What I discovered is this: perfect hard-boiled eggs don’t require tricks. They require calm, consistent heat and a proper cool-down.
Today, I’m sharing the exact method I use in our kitchen — the one that gives me tender whites, creamy yolks, and easy peeling every single time.
Hi, I’m Helen Whitaker — and in our home, even something as simple as boiling eggs is done with intention.
Why You’ll Love This Recipe

- Consistent results every time
- No grey-green ring around the yolk
- Easy-to-peel shells
- Creamy, fully set centers
- Perfect for meal prep
- High-protein, budget-friendly
Hard-boiled eggs are one of those quiet kitchen staples that save busy days. I keep a batch ready for quick breakfasts, chopped into salads, sliced over avocado toast, or packed into lunchboxes.
If you’re building balanced breakfasts for your family, this pairs beautifully with my High-Protein Breakfast Ideas (embed link on this exact phrase).
The Origin of This Method
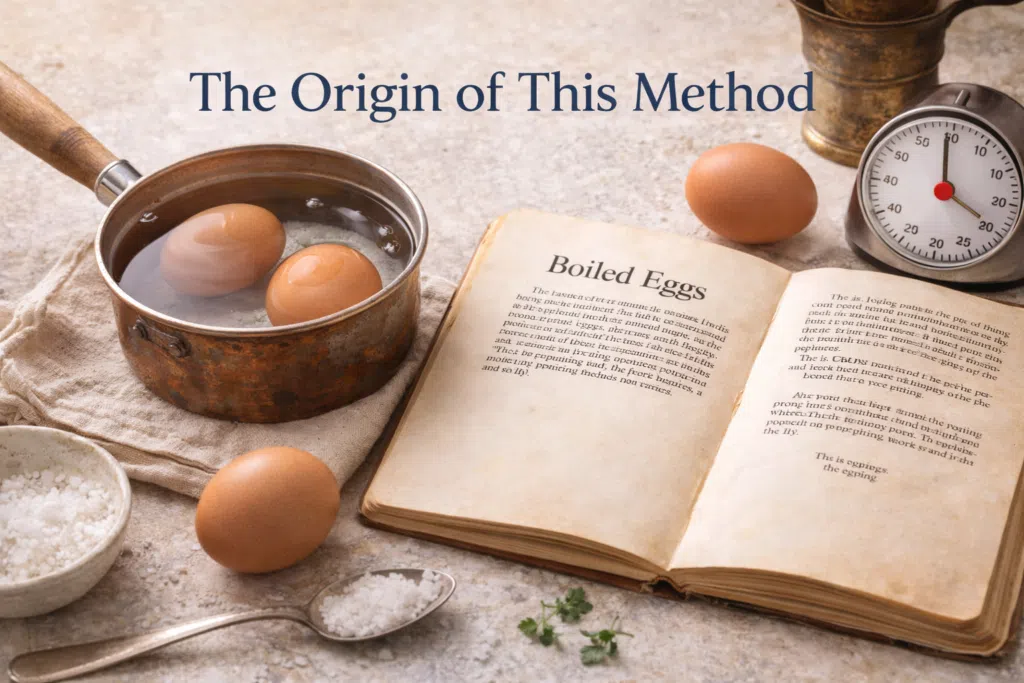
My grandmother used to drop eggs straight into boiling water. Sometimes they were perfect. Sometimes they cracked instantly. It worked often enough — but not consistently.
When I became a mom, consistency mattered more than nostalgia.
After plenty of testing (and a few crater-looking eggs along the way), I realized the key wasn’t boiling harder. It was controlling the heat and stopping the cooking at the right moment.
The method I use now relies on gentle heating and residual cooking. It’s calm. It’s predictable. And it works.
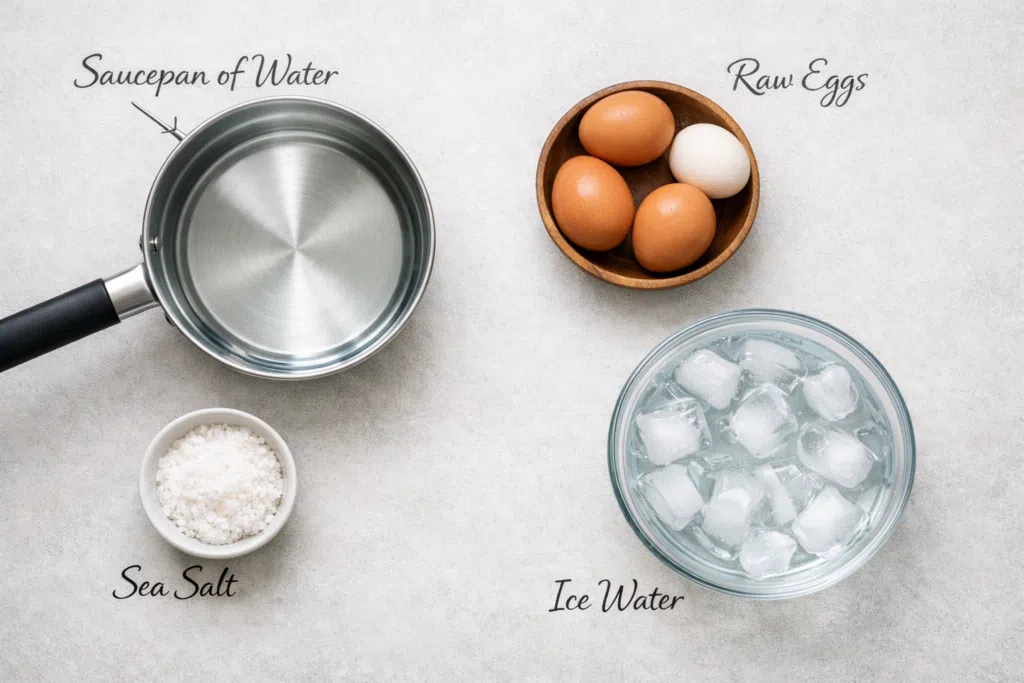
Ingredients
- 6–12 large eggs
- Cold water (enough to cover eggs by 1 inch)
- Ice cubes
- 1 teaspoon salt (optional)
Let’s take a moment to understand why each element matters.
Eggs: Slightly older eggs (about 7–10 days old) peel much more easily than ultra-fresh ones. As eggs age, their internal pH increases slightly, loosening the membrane from the shell.
Cold water: Starting with cold water allows gradual heating, which reduces cracking from temperature shock.
Ice bath: This is essential. It stops the cooking instantly, preventing overcooked yolks and helping the shell separate from the white.
Salt: Optional. It can help slightly if an egg cracks, but it won’t dramatically improve peeling.
Instructions (Step-by-Step for Beginners)
Step 1: Arrange the Eggs
Place eggs in a single layer in a saucepan. Avoid stacking. Overcrowding increases cracking because eggs bump into each other as water moves.
Step 2: Cover with Cold Water
Add enough cold water to cover the eggs by about 1 inch.
Starting cold is essential. Placing eggs directly into boiling water can cause rapid expansion and cracking.
Step 3: Bring to a Rolling Boil
Set the pot over medium-high heat and allow the water to reach a rolling boil — large, steady bubbles breaking the surface.
Once boiling, let it cook for 30 seconds only.
This short boil jump-starts cooking without toughening the whites.
Step 4: Turn Off the Heat and Cover
Immediately turn off the heat and cover the pot.
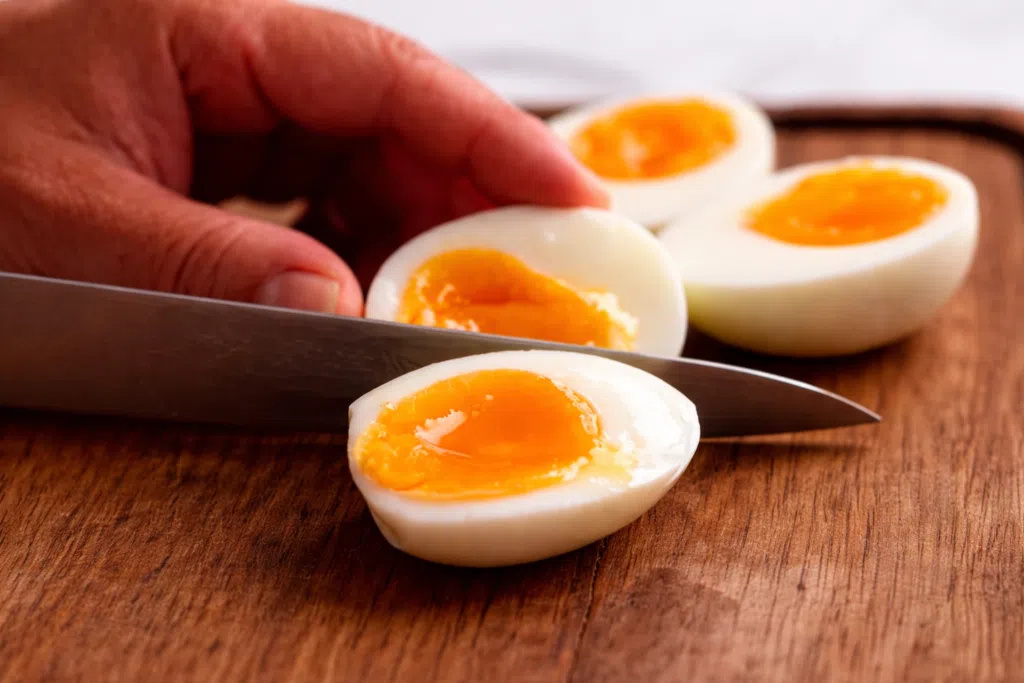
Let the eggs sit in the hot water:
- 10 minutes for slightly creamy centers
- 11 minutes for balanced firmness (my family’s favorite)
- 12 minutes for fully set yolks
Resist the urge to extend the time. Even two extra minutes can change the texture noticeably.
Step 5: Prepare the Ice Bath
While the eggs rest, fill a bowl with ice and cold water.
This step stops residual cooking instantly.
Step 6: Shock the Eggs
Transfer eggs immediately into the ice bath. Let them sit at least 5–10 minutes.
You’ll often see tiny cracks form as they cool — that’s normal and actually helpful for peeling.
Step 7: Peel Gently
Tap the egg on the counter and roll gently to loosen the shell.
Start peeling from the wider end where the air pocket sits.
If needed, peel under running water to help separate the membrane cleanly.

Tips & Flavor Variations
1. Use Slightly Older Eggs
They peel more easily because the membrane separates from the shell as pH rises.
2. Keep the Boil Gentle
Vigorous boiling makes eggs bounce and crack.
3. Don’t Skip the Ice Bath
It prevents overcooking and improves peelability.
4. Store Unpeeled for Freshness
The shell protects moisture and texture.
5. Season After Peeling
Salt added afterward enhances flavor more effectively.
Flavor Variations
- Smoked paprika and olive oil
- Everything bagel seasoning
- Soy-marinated eggs with garlic
- Chili flakes and lemon zest
- Classic deviled egg filling
Common Myths & Mistakes
Myth 1: Fresh eggs are best for hard boiling
Many people believe fresher eggs automatically produce better results. This belief comes from general cooking advice about freshness. However, with hard-boiled eggs, freshness actually works against you. Fresh eggs have a lower internal pH, causing the membrane to cling tightly to the shell. This makes peeling frustrating and messy.
The correct approach is to use eggs that are at least a week old. The slight aging process makes peeling significantly easier without compromising flavor.
Myth 2: Boil eggs for 15–20 minutes to make sure they’re done
This advice likely comes from fear of undercooking. Many assume longer cooking guarantees safety. In reality, prolonged boiling causes rubbery whites and dry, chalky yolks. The green ring forms from a chemical reaction between sulfur and iron when eggs are exposed to excessive heat.
The correct method uses residual heat — a brief boil followed by covered resting. This ensures firm, tender results without overcooking.
Myth 3: Baking soda guarantees easy peeling
While baking soda slightly increases alkalinity, it does not reliably fix peeling problems. The real solution is egg age combined with rapid cooling in an ice bath.
Additives are unnecessary when technique is correct.
Troubleshooting: Cracked Eggs & “Crater” Whites
Even with a careful method, eggs sometimes surprise us.
Why Are My Eggs Cracking?
Cracking usually happens because of temperature shock. When cold eggs meet hot water, the contents expand rapidly before the shell adjusts.
Overcrowding also causes eggs to knock against each other.
The solution:
- Start with cold water
- Heat gradually
- Keep eggs in a single layer
And here’s the comforting part — even cracked eggs are usually perfectly edible.
What Are “Crater Eggs”?
Sometimes you peel an egg and notice small pitted dents in the white. Ethan once called them “moon eggs.”
These craters form when a small amount of white escapes through a tiny crack during cooking and sets unevenly. Rapid boiling can also cause minor surface damage.
They’re cosmetic only. The texture inside remains delicious.
To prevent crater eggs:
- Keep the boil controlled
- Avoid overcrowding
- Cool immediately in an ice bath
In our house, we slice them open, sprinkle salt, and no one complains.
FAQ – Frequently Asked Questions
Why do my eggs have a green ring around the yolk?
This happens when eggs are overcooked. The iron in the yolk reacts with sulfur in the white during prolonged high heat. It’s harmless but affects flavor and texture. The solution is precise timing and immediate cooling in an ice bath.
How long do hard-boiled eggs last in the fridge?
Unpeeled eggs last up to 7 days in the refrigerator. Store them in an airtight container to prevent odor absorption. Peeled eggs are best within 3–4 days.
Can I freeze hard-boiled eggs?
Freezing whole eggs is not recommended because the whites become rubbery and watery when thawed. Cooked yolks may be frozen separately if necessary.
Why are my eggs difficult to peel?
The most common cause is using very fresh eggs. Slightly older eggs peel more easily due to internal pH changes. Cooling thoroughly in an ice bath also improves peeling success.
What temperature should eggs reach for safety?
According to the USDA’s egg safety guidelines (embed link on this exact phrase), eggs should be cooked until both the white and yolk are firm to ensure food safety.
Storage & Make-Ahead Tips
After cooling completely, store unpeeled eggs in an airtight container in the refrigerator for up to 7 days.
Leaving the shell on helps retain moisture and prevents absorption of other refrigerator odors.
If peeling ahead, store peeled eggs in a container lined with a slightly damp paper towel. Replace the towel daily if needed.
Freezing whole eggs is not recommended. The texture of the whites changes significantly.
To reheat gently, place peeled eggs in warm (not boiling) water for several minutes. Avoid microwaving whole eggs, as steam buildup can cause them to burst.
On Sundays, I often boil a dozen. By midweek, they’ve saved dinner more than once when Ethan suddenly announces he’s starving and Lily needs something quick before dance class.
Conclusion
Perfect hard-boiled eggs aren’t about perfection — they’re about patience.
In our kitchen, something as simple as peeling eggs together becomes a moment of connection. Lily carefully sprinkles salt. Ethan inspects for “moon craters.” Daniel always reaches for one more.
Simple food. Done thoughtfully. Shared together.
And that’s exactly how I believe cooking should feel.
— Helen Whitaker 🤍
Print
Perfect Hard-Boiled Eggs
- Total Time: 17 minutes
- Diet: Gluten Free
Description
A calm, foolproof method for perfectly cooked, easy-to-peel hard-boiled eggs with tender whites and creamy yolks every time.
Ingredients
6–12 large eggs
Cold water (enough to cover eggs by 1 inch)
Ice cubes
1 teaspoon salt (optional)
Instructions
-
Place eggs in a single layer in a saucepan. Cover with cold water by about 1 inch.
-
Bring to a rolling boil over medium-high heat.
-
Once boiling, cook for 30 seconds.
-
Turn off the heat, cover the pot, and let sit for 10–12 minutes (11 minutes for balanced firmness).
-
Meanwhile, prepare a bowl filled with ice and cold water.
-
Transfer eggs immediately to the ice bath and cool for 5–10 minutes.
-
Tap, roll gently, and peel starting from the wide end.
Notes
Use slightly older eggs (7–10 days old) for easier peeling.
Store unpeeled eggs in the refrigerator up to 7 days in an airtight container.
Peeled eggs should be consumed within 3–4 days and kept covered with a damp paper towel to prevent drying.
Freezing whole hard-boiled eggs is not recommended due to texture changes.
Avoid vigorous boiling to prevent cracking and cratered egg whites.
- Prep Time: 5 minutes
- Cook Time: 12 minutes
- Category: Breakfast
- Method: Boiling
- Cuisine: American
Nutrition
- Serving Size: 6 servings (6 eggs)
- Calories: 78 per egg
- Sugar: 0g
- Fat: 7g