Classic Pumpkin Pie (Made the Calm, Old-Fashioned Way)
Hi, I’m Helen Whitaker — welcome to Cookliva.
Every fall, without fail, my kitchen fills with the warm, familiar scent of cinnamon and pumpkin. It’s the kind of smell that slows everything down, even on a busy afternoon when homework is spread across the table and my husband Mark is asking if there will be dessert “soon-ish.” This pumpkin pie is the one I make when I want that feeling — comfort, warmth, and a reminder that some traditions are worth keeping exactly as they are.
I still remember the first time I made pumpkin pie completely from scratch. I was nervous about the texture, worried it would crack, and convinced I’d overbake it. But when I sliced into it later that evening and saw that smooth, creamy center, I realized something important: pumpkin pie doesn’t need to be complicated to be incredible. It just needs patience.
This recipe has become our pumpkin pie — the one my kids ask for by name, the one Mark sneaks a second slice of after everyone else has gone to bed. It’s gently spiced, perfectly set, and never watery or dense. If you’ve ever felt intimidated by pumpkin pie, I promise you — this version is calm, forgiving, and absolutely doable.
Why You’ll Love This Recipe
There are a lot of pumpkin pie recipes out there, but this one earns its place at the table every single year.
First, the texture is everything a pumpkin pie should be: silky and custard-like, not stiff or gummy. That comes from using the right balance of eggs, cream, and pumpkin — and baking it gently instead of rushing it.
Second, the flavor is warm and balanced. The spices support the pumpkin rather than overpowering it. You’ll taste cinnamon first, then nutmeg and ginger quietly in the background, with just enough clove to add depth without bitterness.
Third, it’s dependable. This pie sets beautifully, slices cleanly, and holds its shape even after a night in the refrigerator. When you’re cooking for family or guests, reliability matters just as much as flavor.
And finally — it’s peaceful to make. No fancy steps. No special equipment. Just a bowl, a whisk, and a little time. Cooking should feel like this more often.

The Origin of This Recipe
Pumpkin pie has always been part of my autumn memories. My grandmother made it every Thanksgiving, usually early in the morning while the house was still quiet. She never rushed it. She believed custards needed respect — low heat, gentle mixing, and patience.
When I started Cookliva, I wanted a pumpkin pie that honored that philosophy. Not trendy. Not overloaded with spices. Just a well-made pie that tastes like fall and feels like home.
Over the years, I’ve adjusted small details — a bit more cream here, a slightly lower oven temperature there — until it became what I consider the ideal classic pumpkin pie. This recipe is the result of many fall afternoons, a few cracked tops, and plenty of taste-testing from my very willing family.
Ingredients
Pumpkin pie is simple, but each ingredient plays an important role. Understanding why they matter makes the process far less intimidating.
Pumpkin purée
Use pure pumpkin purée, not pumpkin pie filling. The purée provides structure, flavor, and moisture. I prefer canned pumpkin for consistency, but homemade purée works if it’s thick and well-drained.
Eggs
Eggs are what turn the filling into a custard. Too many and the pie becomes dense; too few and it won’t set. Room-temperature eggs blend more smoothly and reduce the risk of curdling.
Heavy cream
Cream adds richness and softness. It keeps the pie from tasting eggy and helps create that smooth, luxurious texture we’re aiming for.
Brown sugar
Brown sugar brings warmth and depth thanks to its molasses content. It complements pumpkin better than white sugar and enhances the spices.
Spices (cinnamon, ginger, nutmeg, cloves)
These spices should work together, not compete. Cinnamon leads, ginger adds brightness, nutmeg brings warmth, and cloves add just a whisper of intensity.
Salt
A small amount of salt sharpens all the flavors and keeps the pie from tasting flat.
Vanilla extract
Vanilla rounds out the filling and softens the spice edges.
Pie crust
A simple, flaky crust is all you need. Homemade or store-bought both work — just make sure it’s unbaked and well-chilled.
Instructions
Step 1: Prepare the crust
Place your unbaked pie crust into a 9-inch pie dish. Gently press it into the corners without stretching the dough — stretching causes shrinkage during baking. Crimp the edges and place the crust in the refrigerator while you prepare the filling. Cold dough equals flakier crust.
Step 2: Preheat the oven
Set your oven to 375°F (190°C). Baking pumpkin pie at a moderate temperature allows the custard to set evenly without cracking.
Step 3: Mix the dry ingredients
In a large bowl, whisk together the brown sugar, cinnamon, ginger, nutmeg, cloves, and salt. Mixing the spices with the sugar first helps them distribute evenly, preventing spice pockets in the filling.
Step 4: Add pumpkin and eggs
Whisk the pumpkin purée into the sugar mixture until smooth. Add the eggs one at a time, whisking gently. Avoid beating vigorously — too much air can cause cracks later.
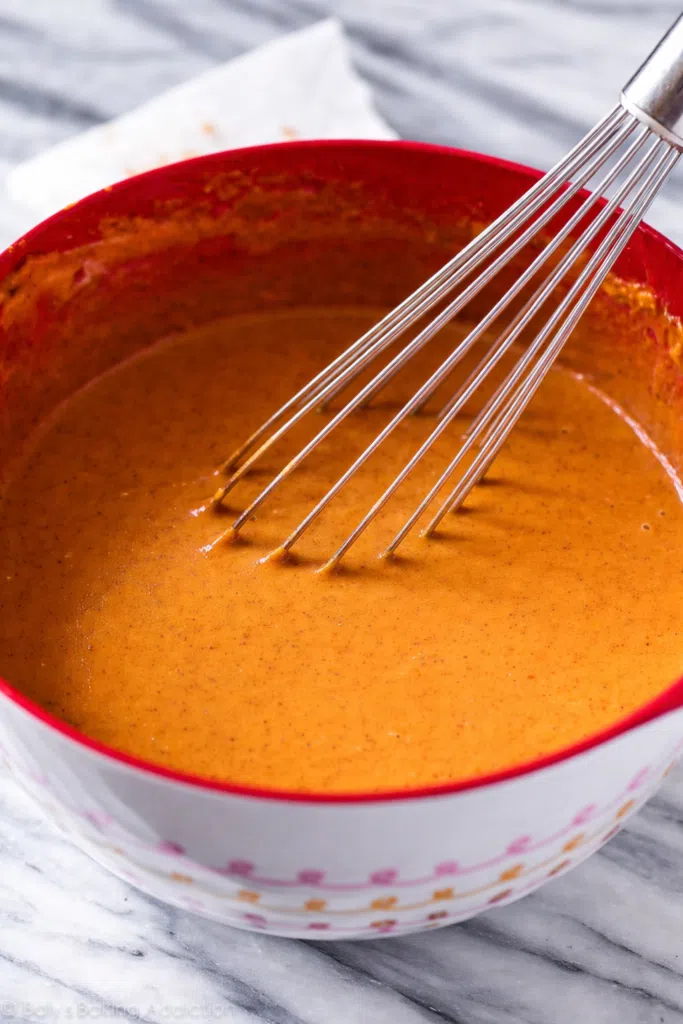
Step 5: Add cream and vanilla
Slowly whisk in the heavy cream and vanilla extract. The mixture should be smooth, pourable, and slightly thick — similar to a thin custard.
Step 6: Fill the crust
Pour the filling into the chilled crust. If you notice bubbles on the surface, gently tap the pan on the counter to release them.
Step 7: Bake
Place the pie on the center rack and bake for 40–50 minutes. The edges should be set, but the center should still have a slight wobble — like gelatin, not liquid. Overbaking is the most common mistake.
Step 8: Cool completely
Remove the pie from the oven and let it cool at room temperature for at least 2 hours. The filling will continue to set as it cools. Refrigerate once fully cooled.
Tips & Flavor Variations
- Don’t overbake
Pumpkin pie continues cooking after it leaves the oven. A slight wobble in the center ensures a creamy texture once chilled. - Shield the crust if needed
If the edges brown too quickly, loosely cover them with foil halfway through baking. - Use room-temperature ingredients
This helps everything blend smoothly and prevents curdling. - Let it rest overnight
Pumpkin pie tastes even better the next day as the flavors meld. - Cut with a clean knife
Wipe the knife between slices for clean, bakery-style cuts.
Flavor Variations:
- Add a splash of maple syrup for a deeper sweetness
- Swap heavy cream for half-and-half for a lighter pie
- Add orange zest for brightness
- Use pumpkin spice instead of individual spices (adjust to taste)
- Make it dairy-free with full-fat coconut milk
Common Myths & Mistakes
Myth 1: Pumpkin pie should be firm when done
People believe this because they fear underbaking. In reality, a firm center means it’s overbaked. The correct texture is softly set with a gentle wobble.
Myth 2: Cracks mean failure
Cracks usually come from overbaking or rapid cooling. They don’t affect flavor — and whipped cream hides everything.
Myth 3: More spice equals more flavor
Too much spice overwhelms pumpkin. Balance is what makes the flavor shine.
FAQ
Can I make pumpkin pie ahead of time?
Yes. Pumpkin pie is best made one day ahead and refrigerated.
How long does pumpkin pie last?
Up to 4 days in the refrigerator, loosely covered.
Can I freeze pumpkin pie?
Yes. Wrap tightly and freeze for up to 2 months. Thaw overnight in the fridge.
Why is my pie watery?
Likely underbaked or made with pumpkin pie filling instead of purée.
Can I use milk instead of cream?
You can, but the texture will be less rich and slightly more watery.